Review the walkthrough video below to see the whole process in one place. Or scroll below for the step-by-step guide with screenshots.
Navigate from the Dashboard
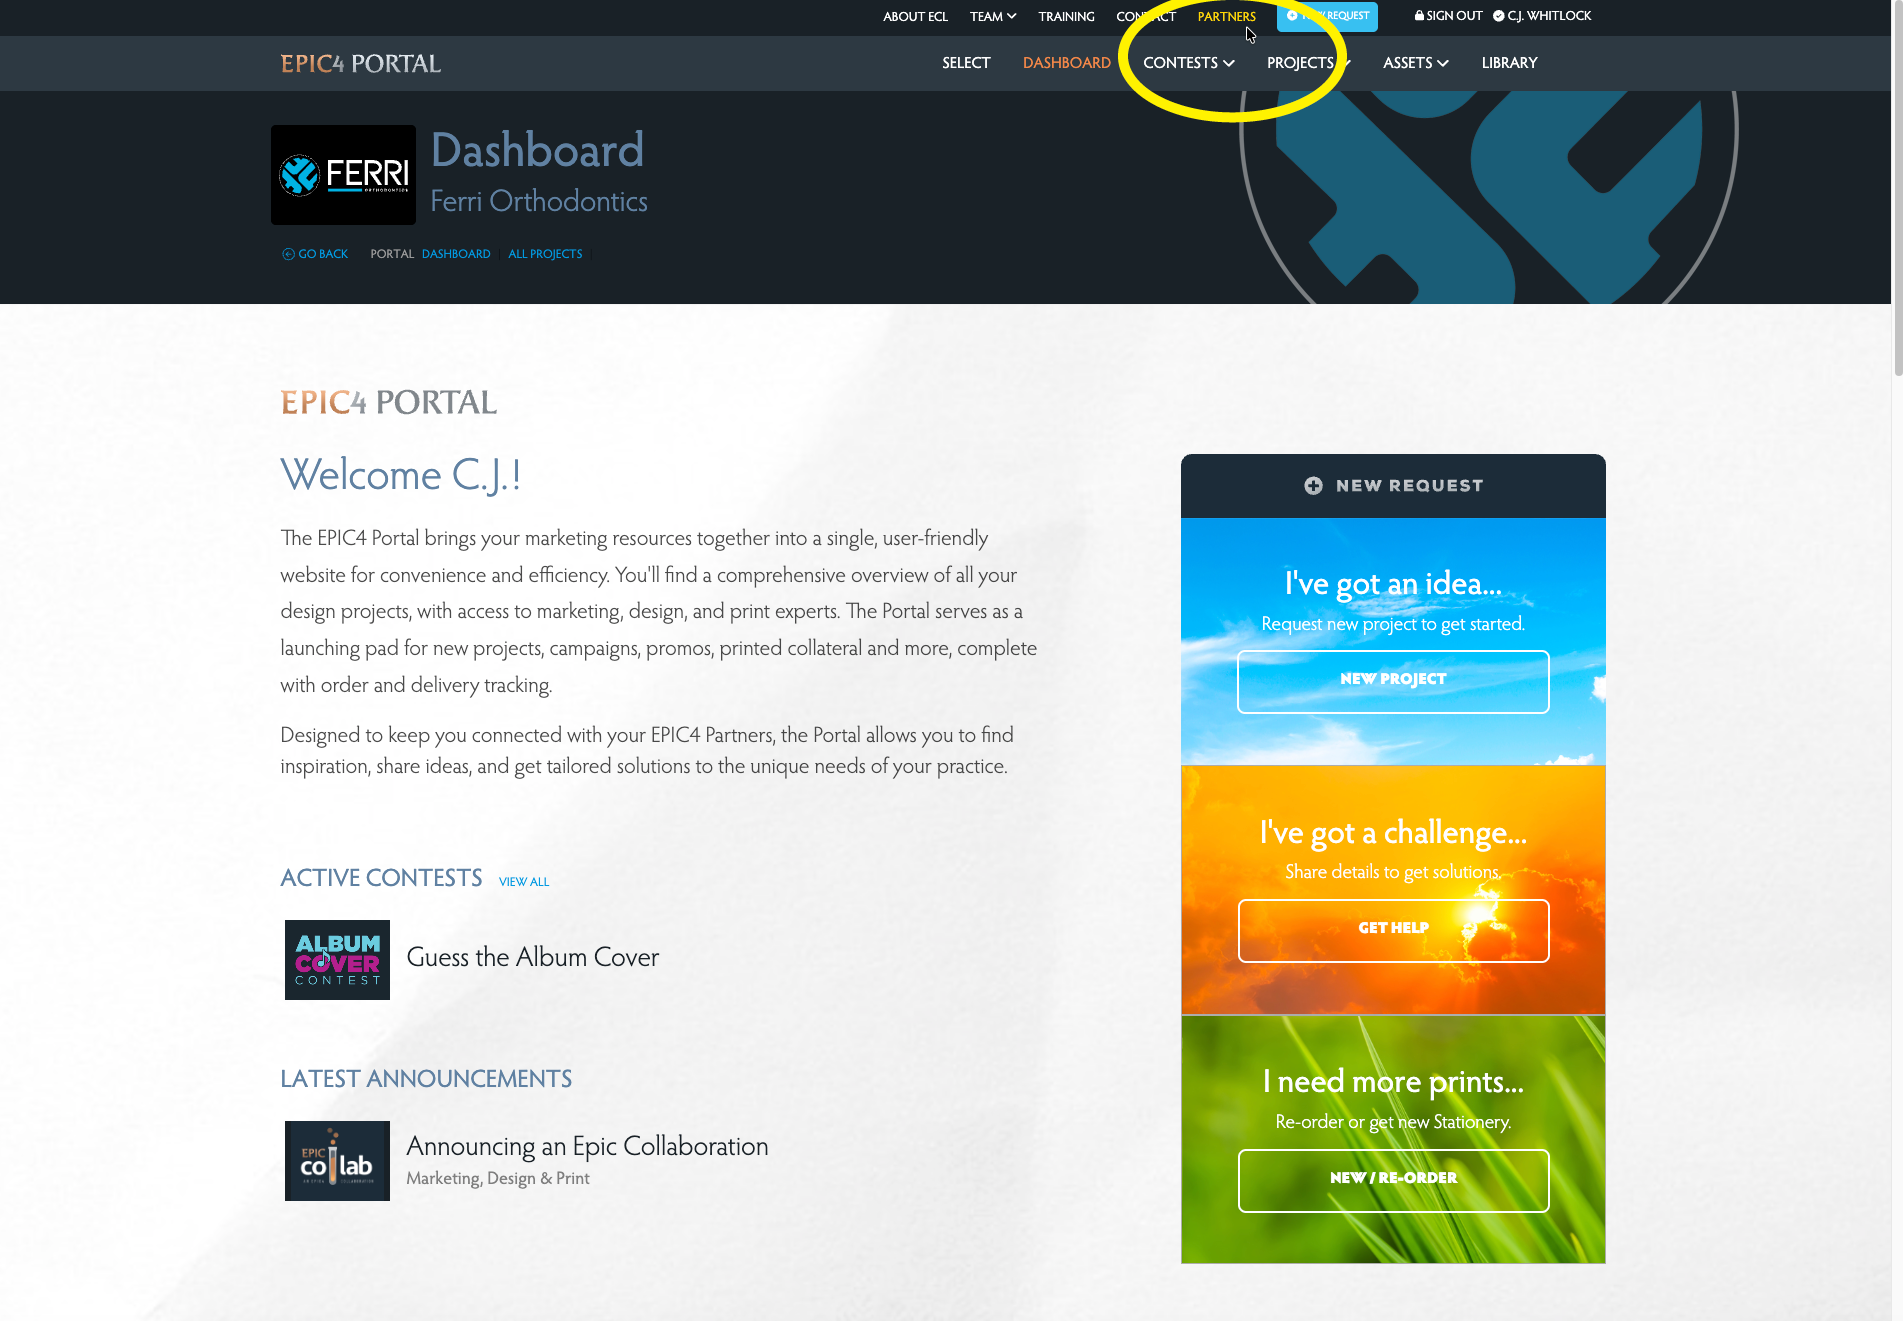
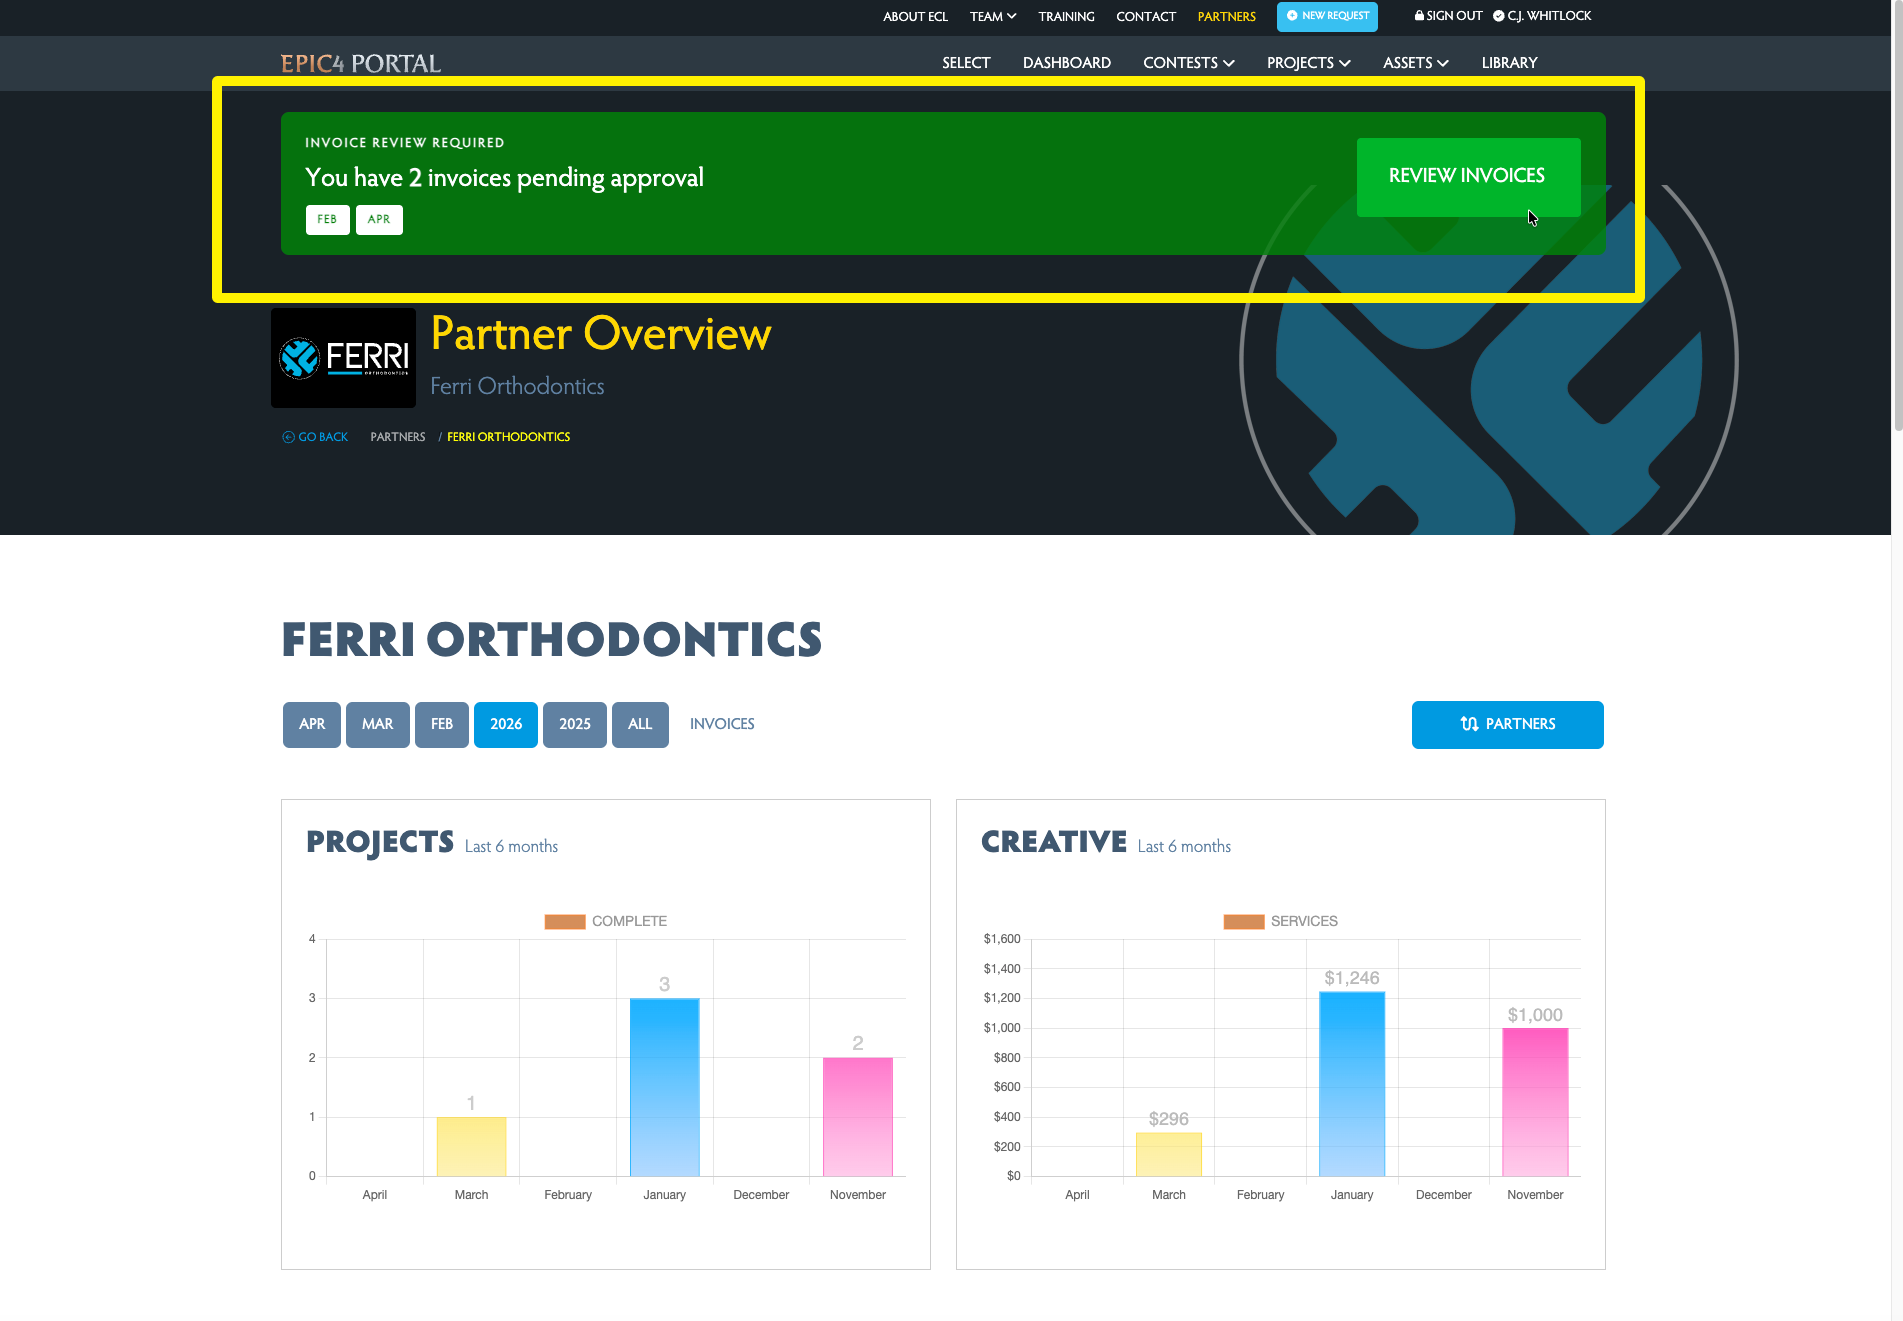
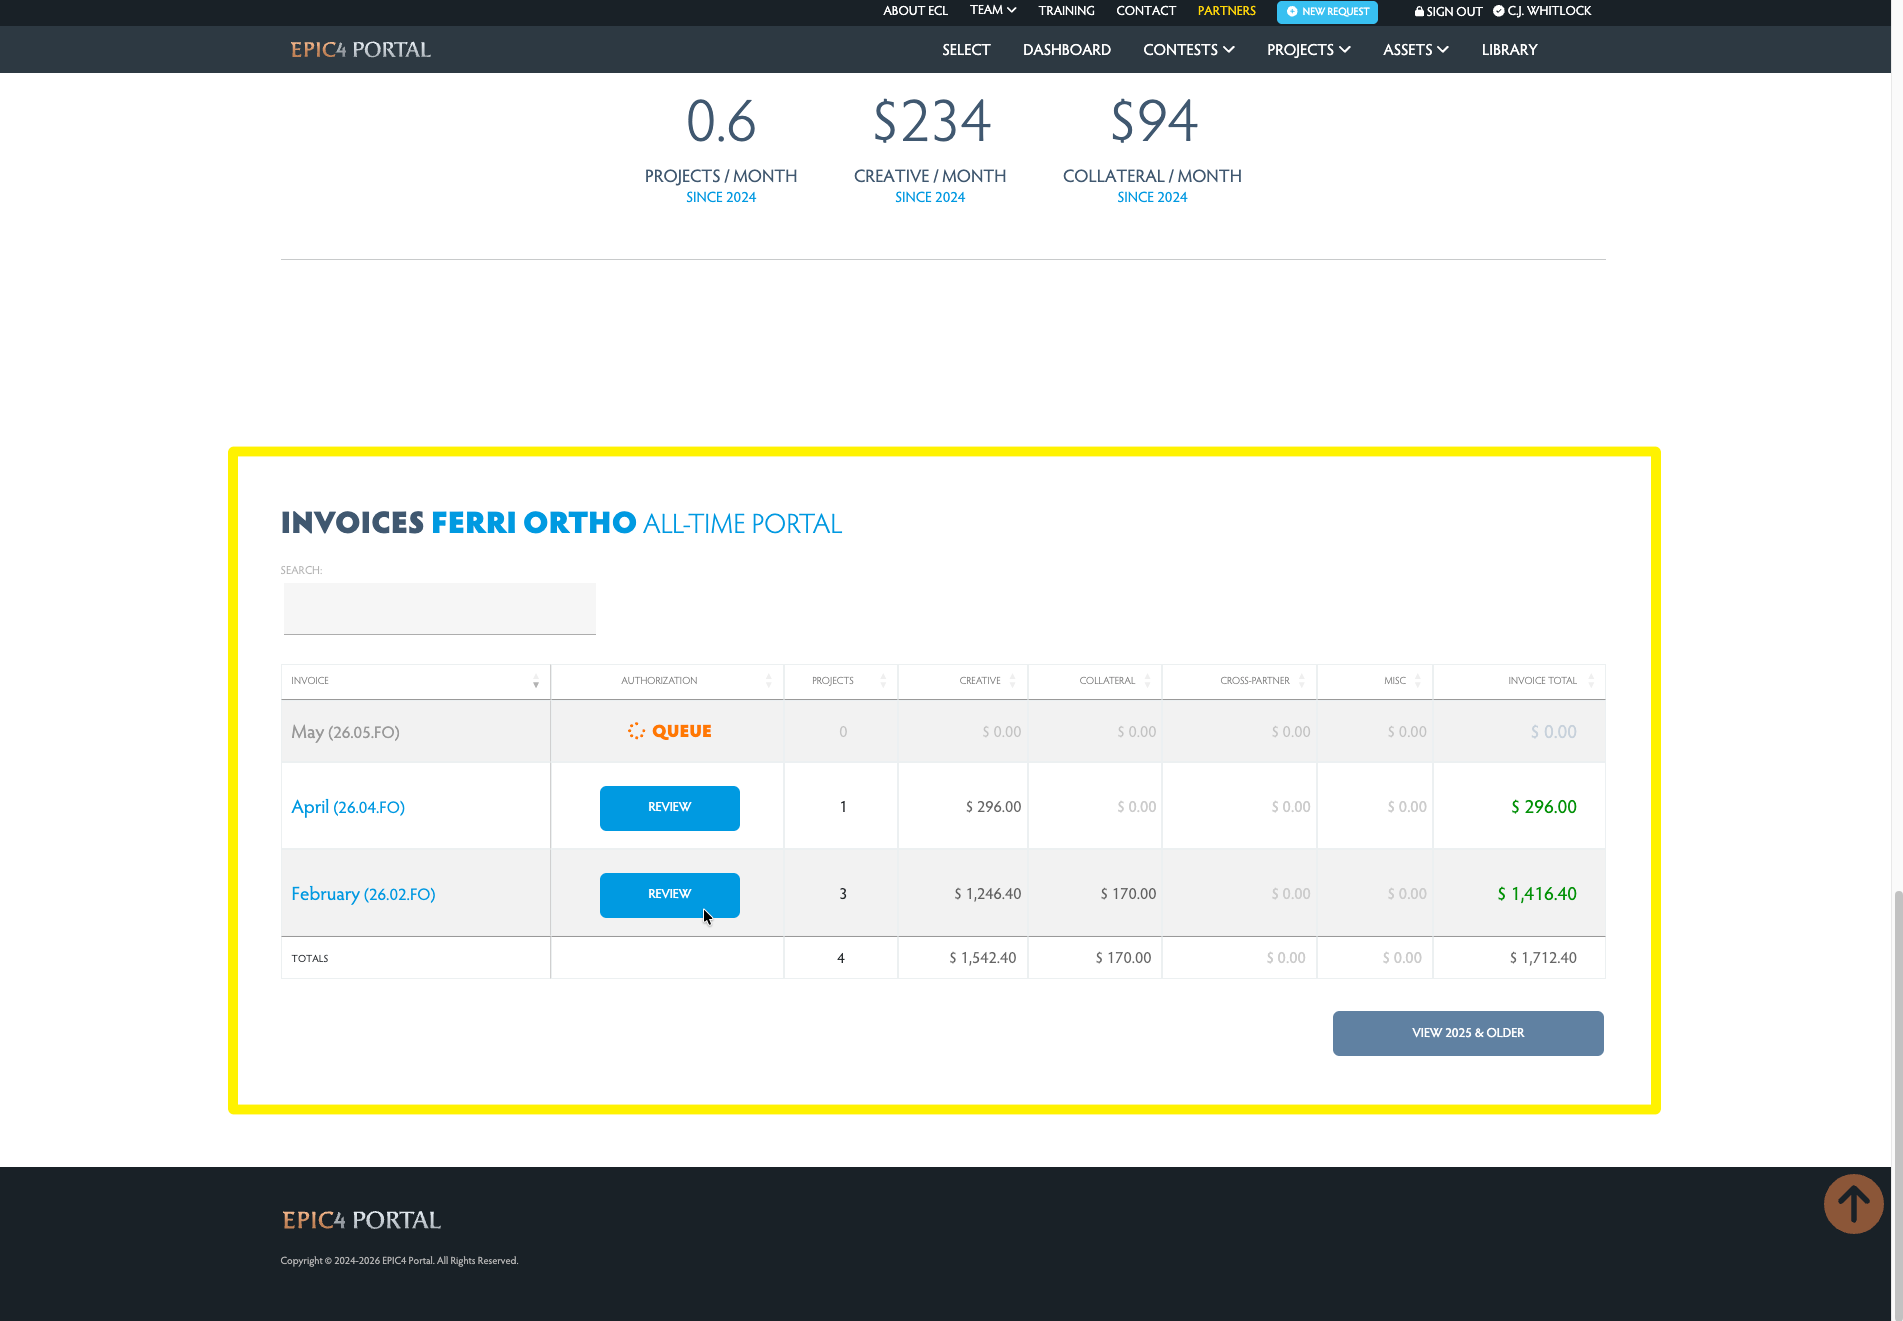
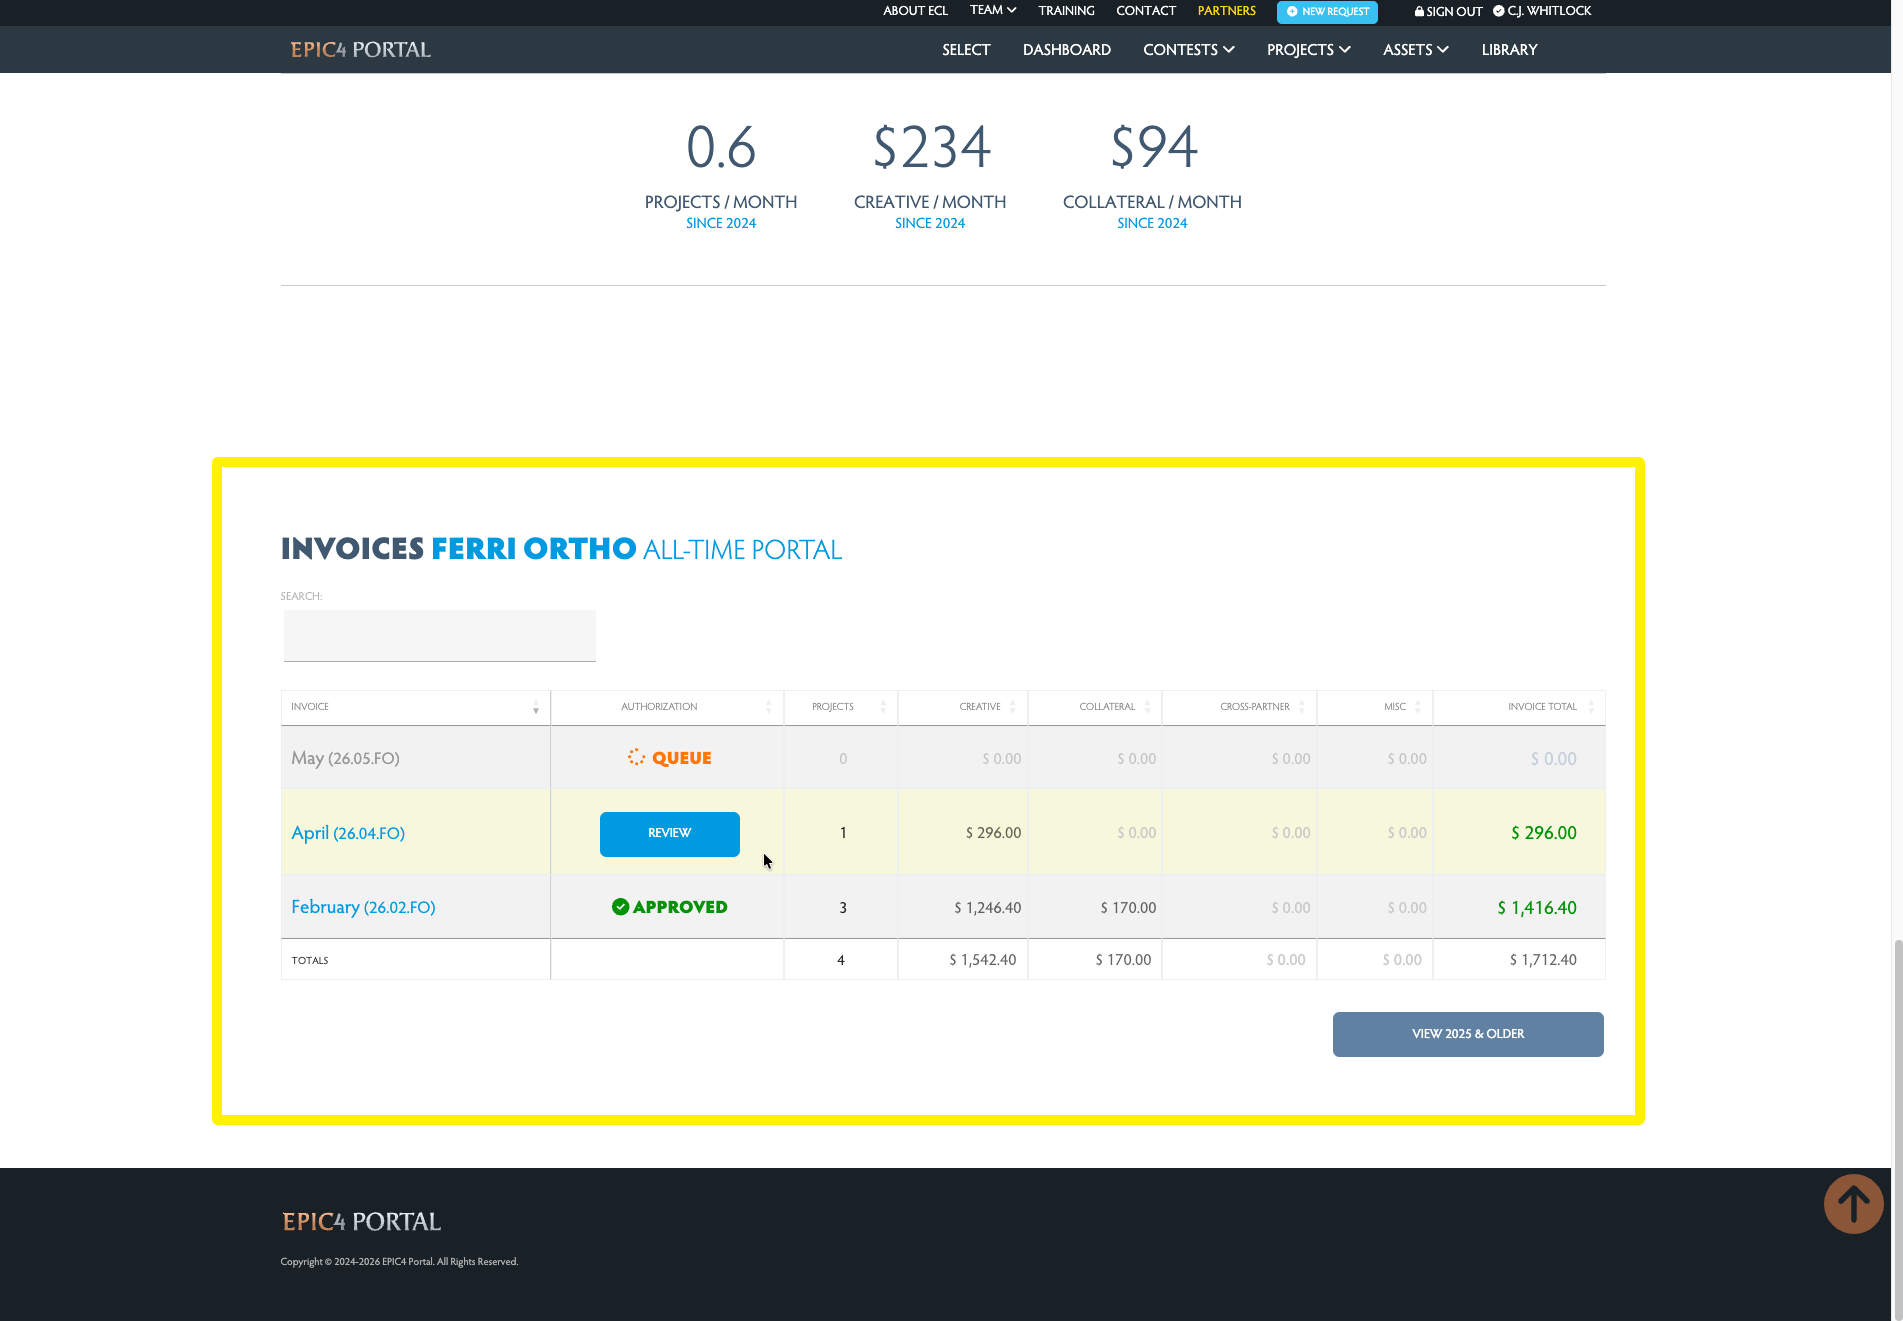
Click the PARTNERS link in the navigation menu at the top to access the Partners Overview section. If you have invoices waiting, you'll see a green notification bar at the top. Click the notification bar or scroll to the bottom of the page to see a list of your invoices organized by month. Invoices that need your review show a blue Review button. Click on the invoice to open and view the details.
Review Your Invoice
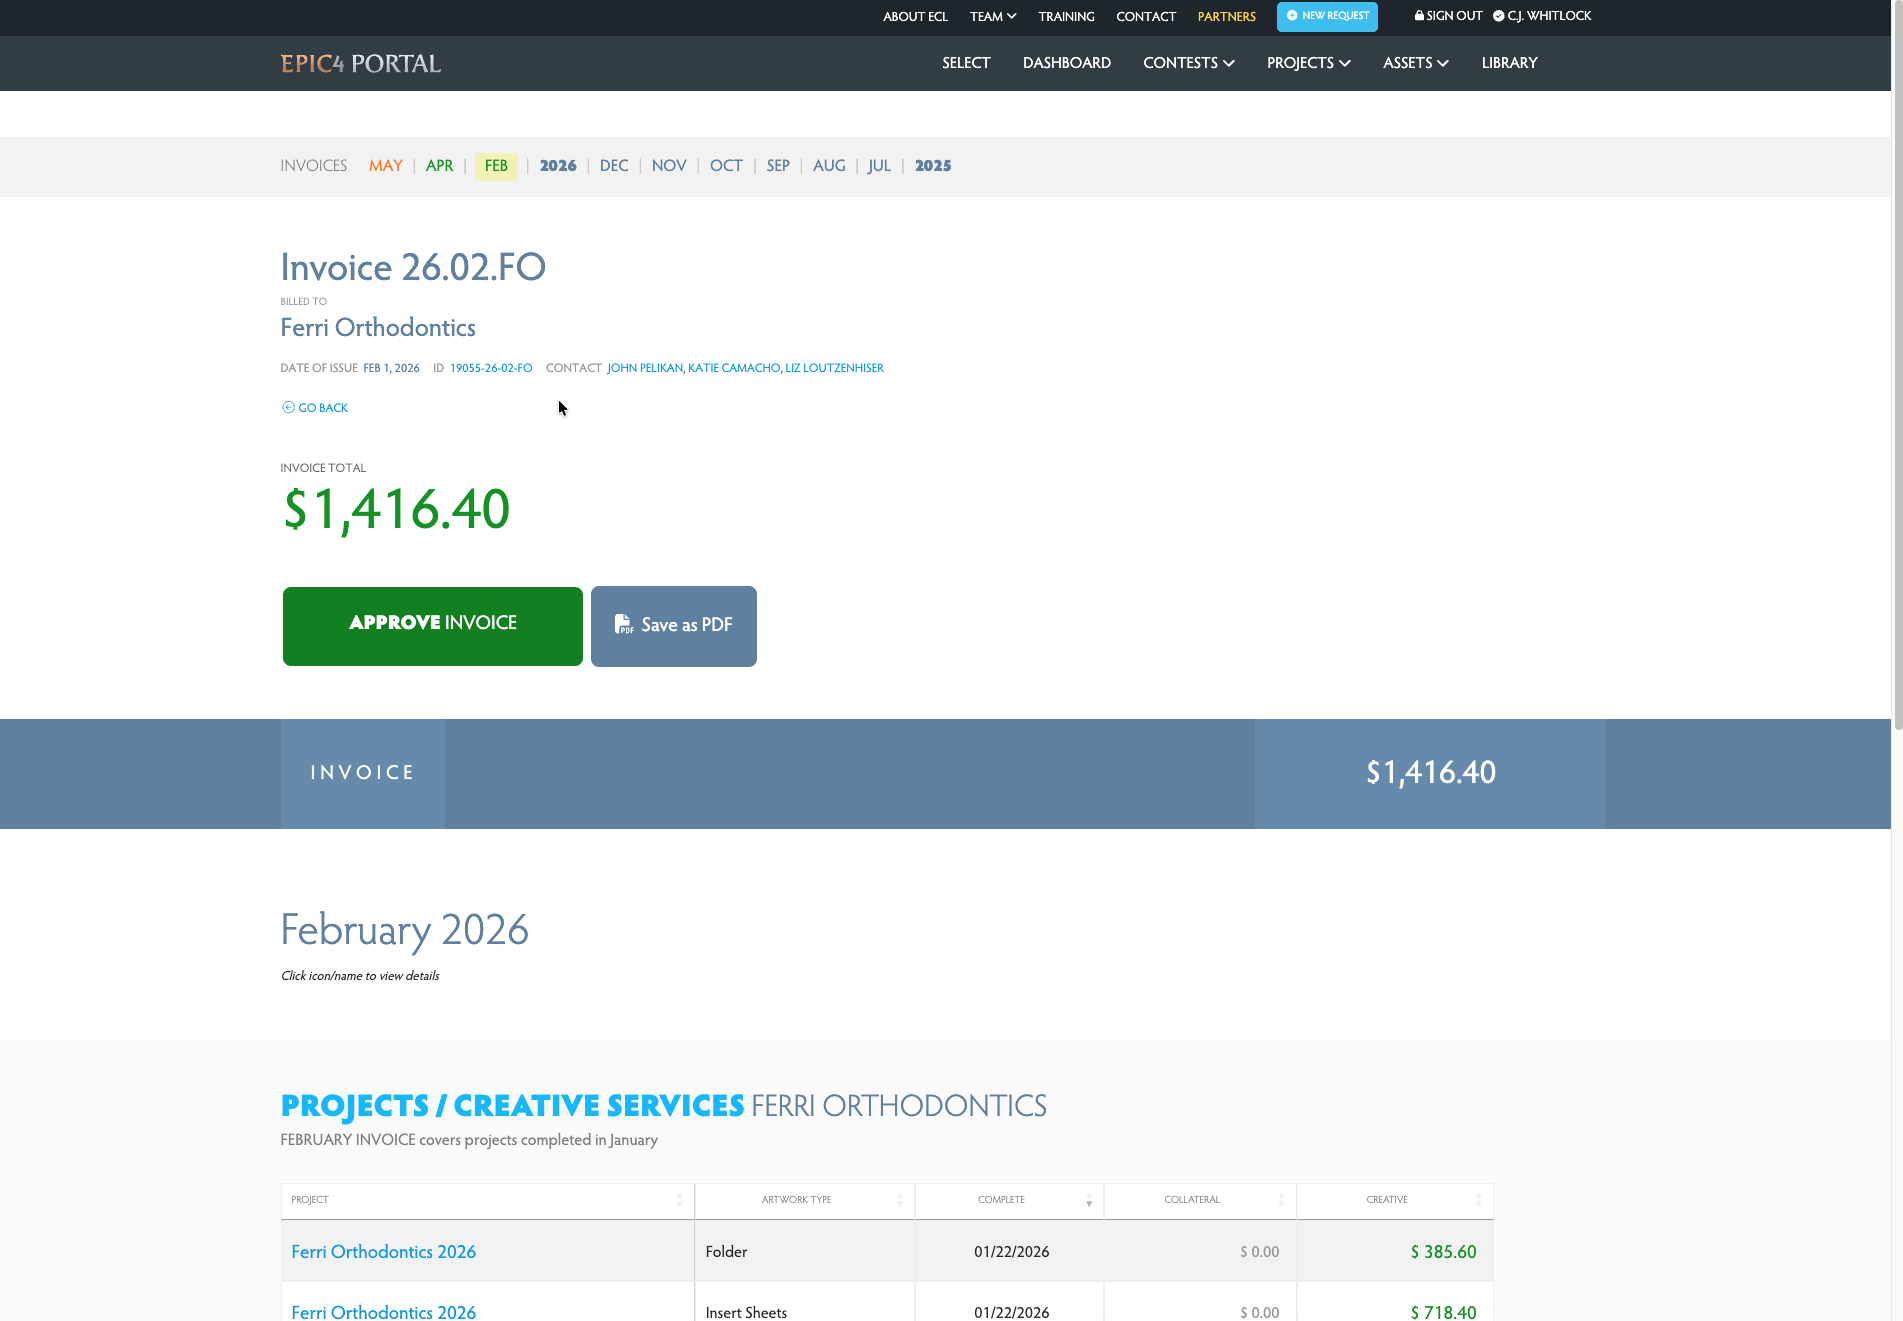
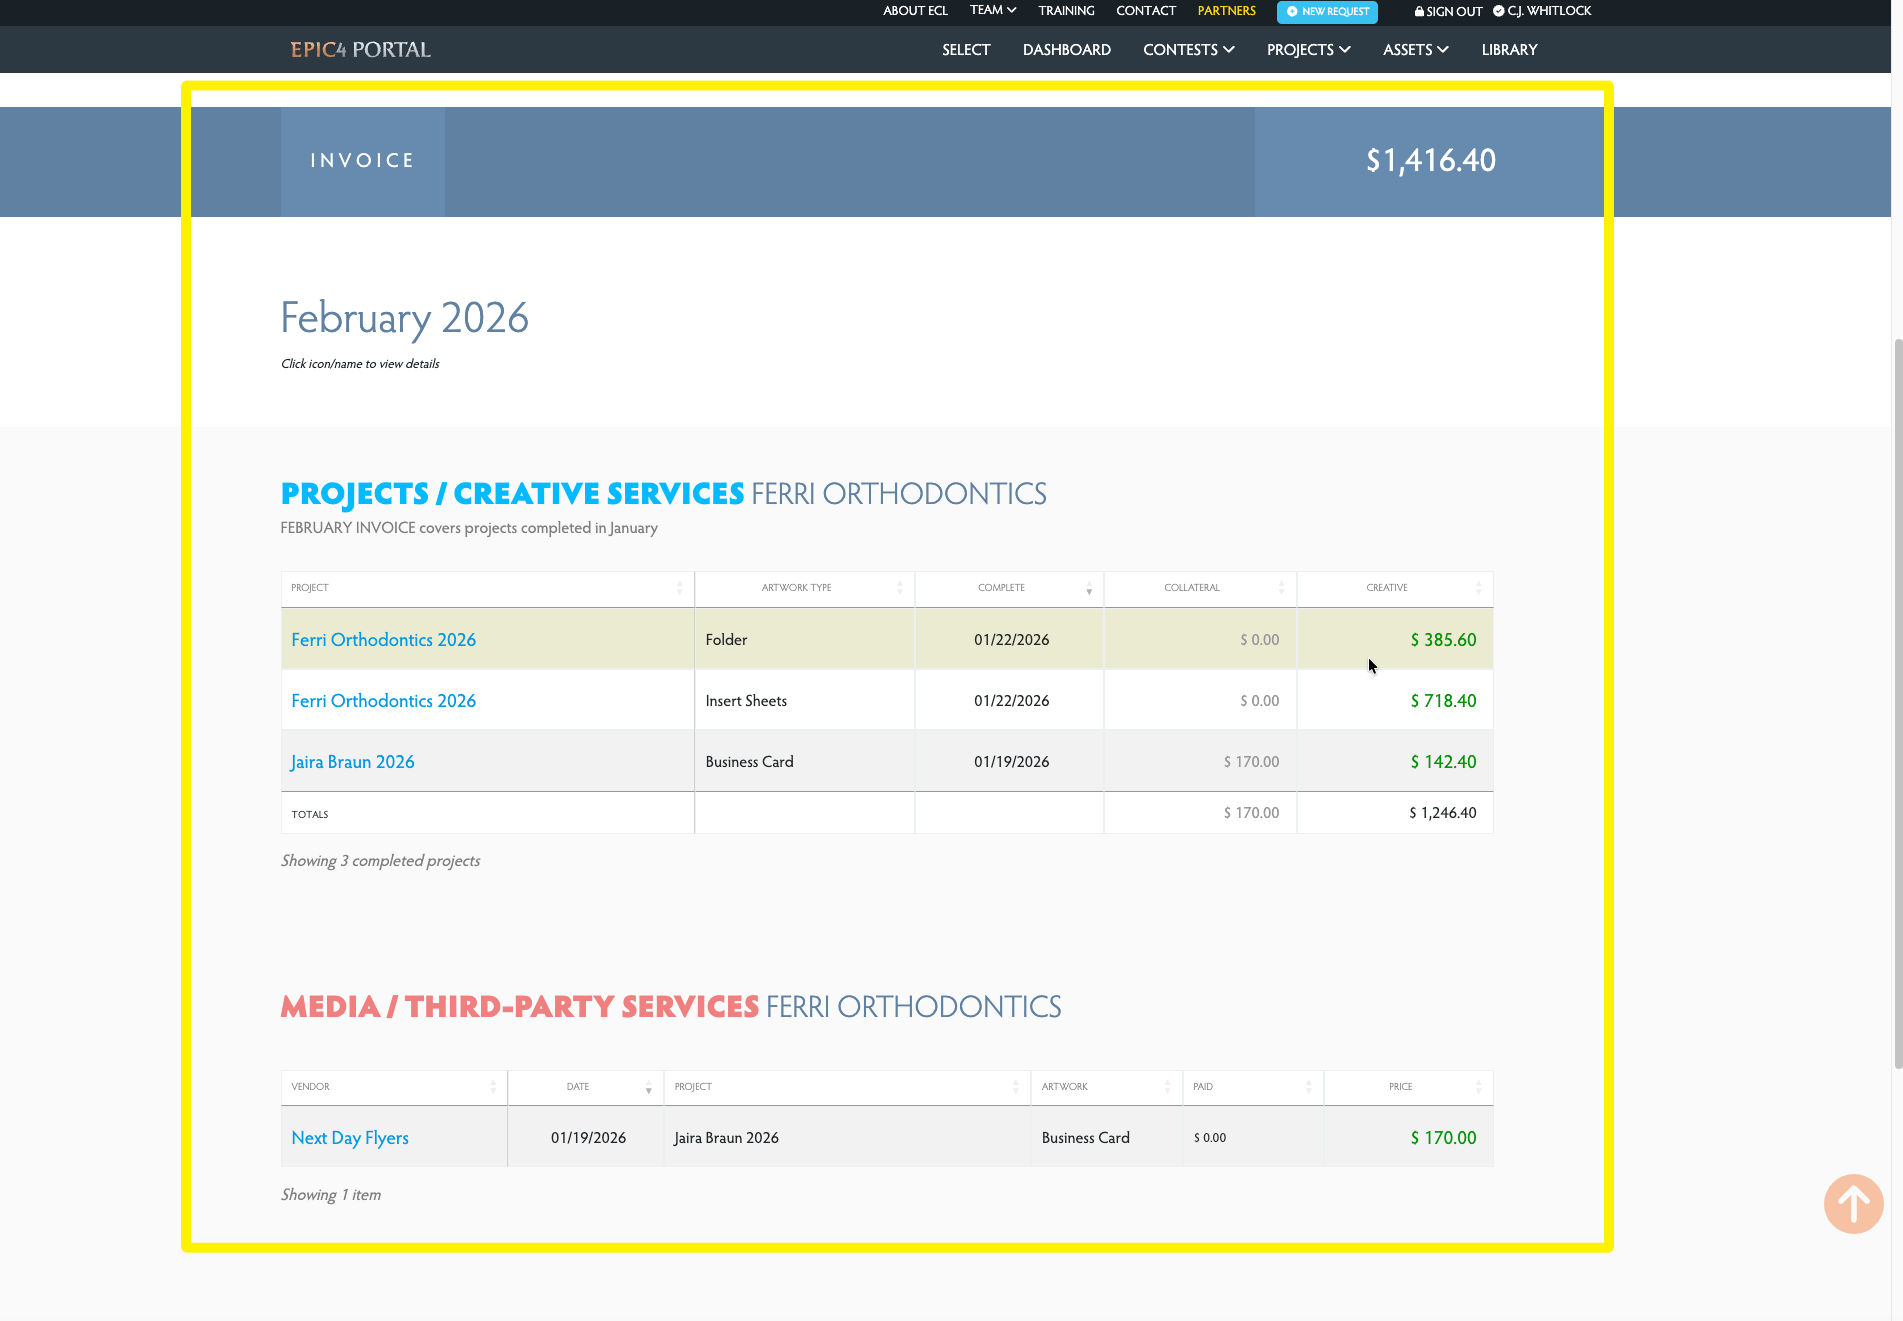
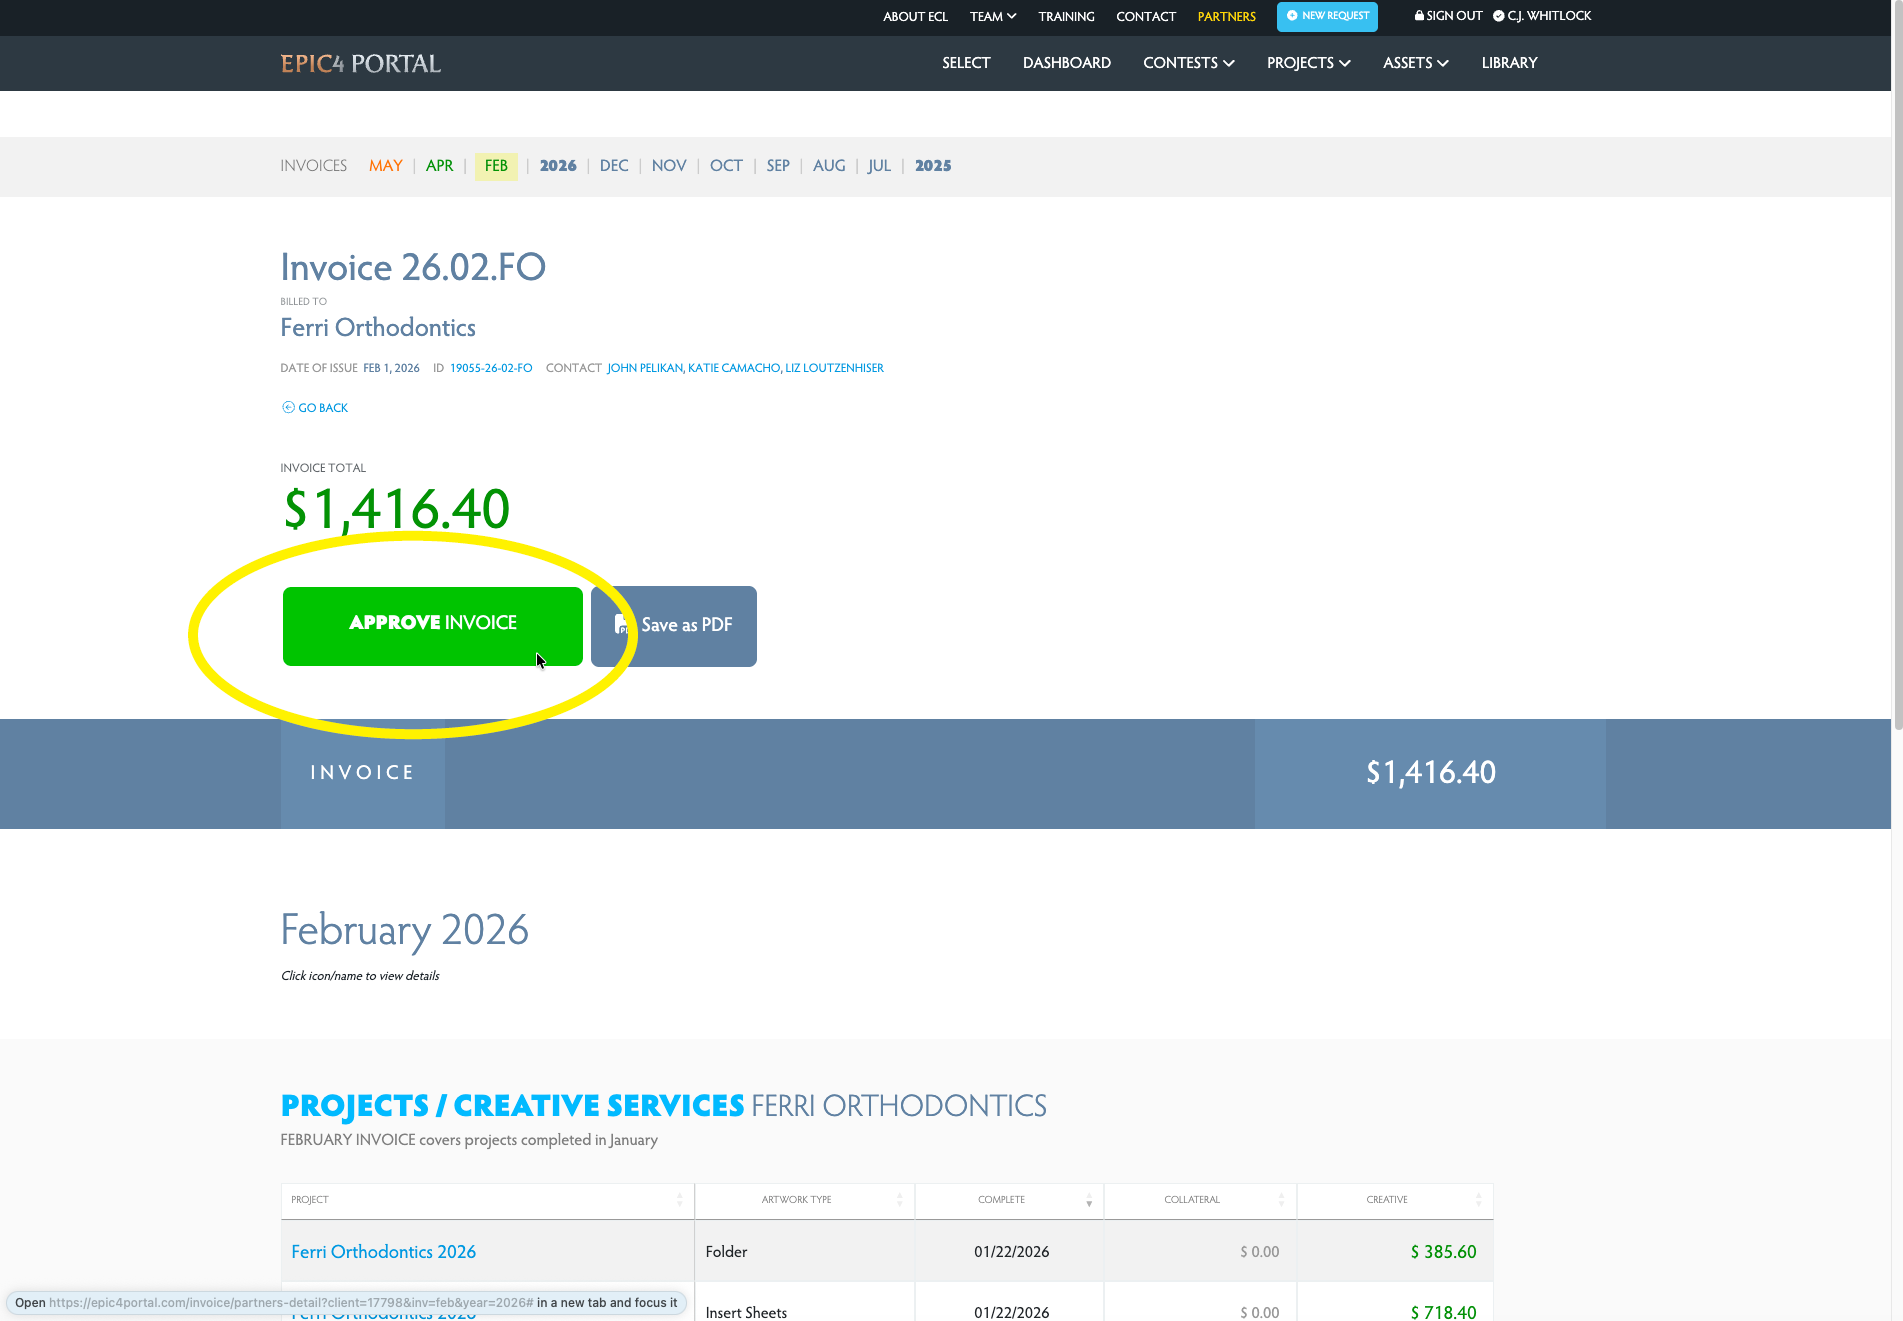
Review the invoice details — the name, line items, and total (A). When everything looks correct, click the green Approve Invoice button to open the Authorization Form.
Approve Your Invoice
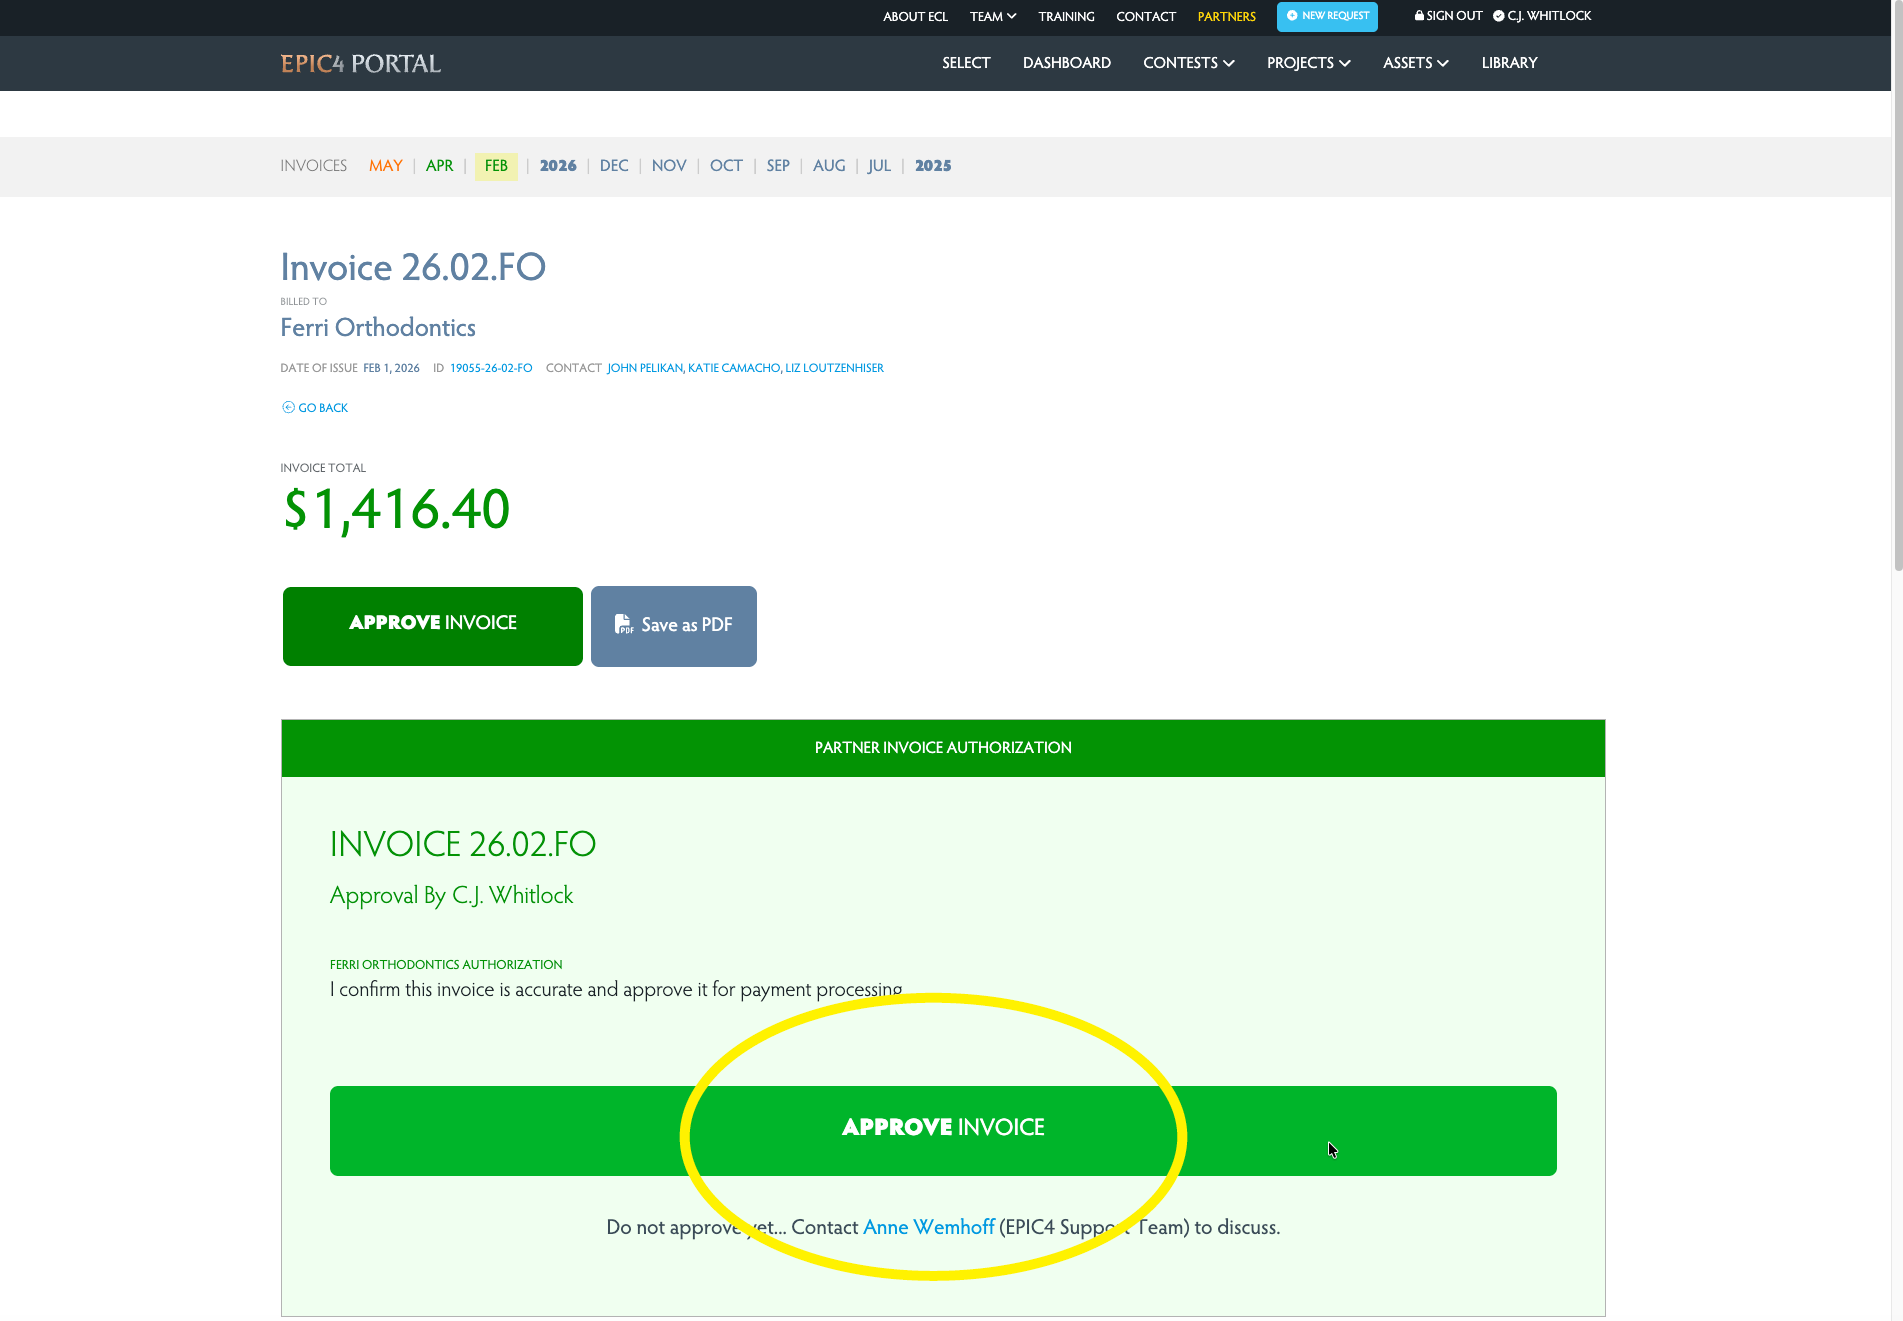
To approve, open the Authorization Form and click APPROVE INVOICE to submit your approval.
Invoice Updated
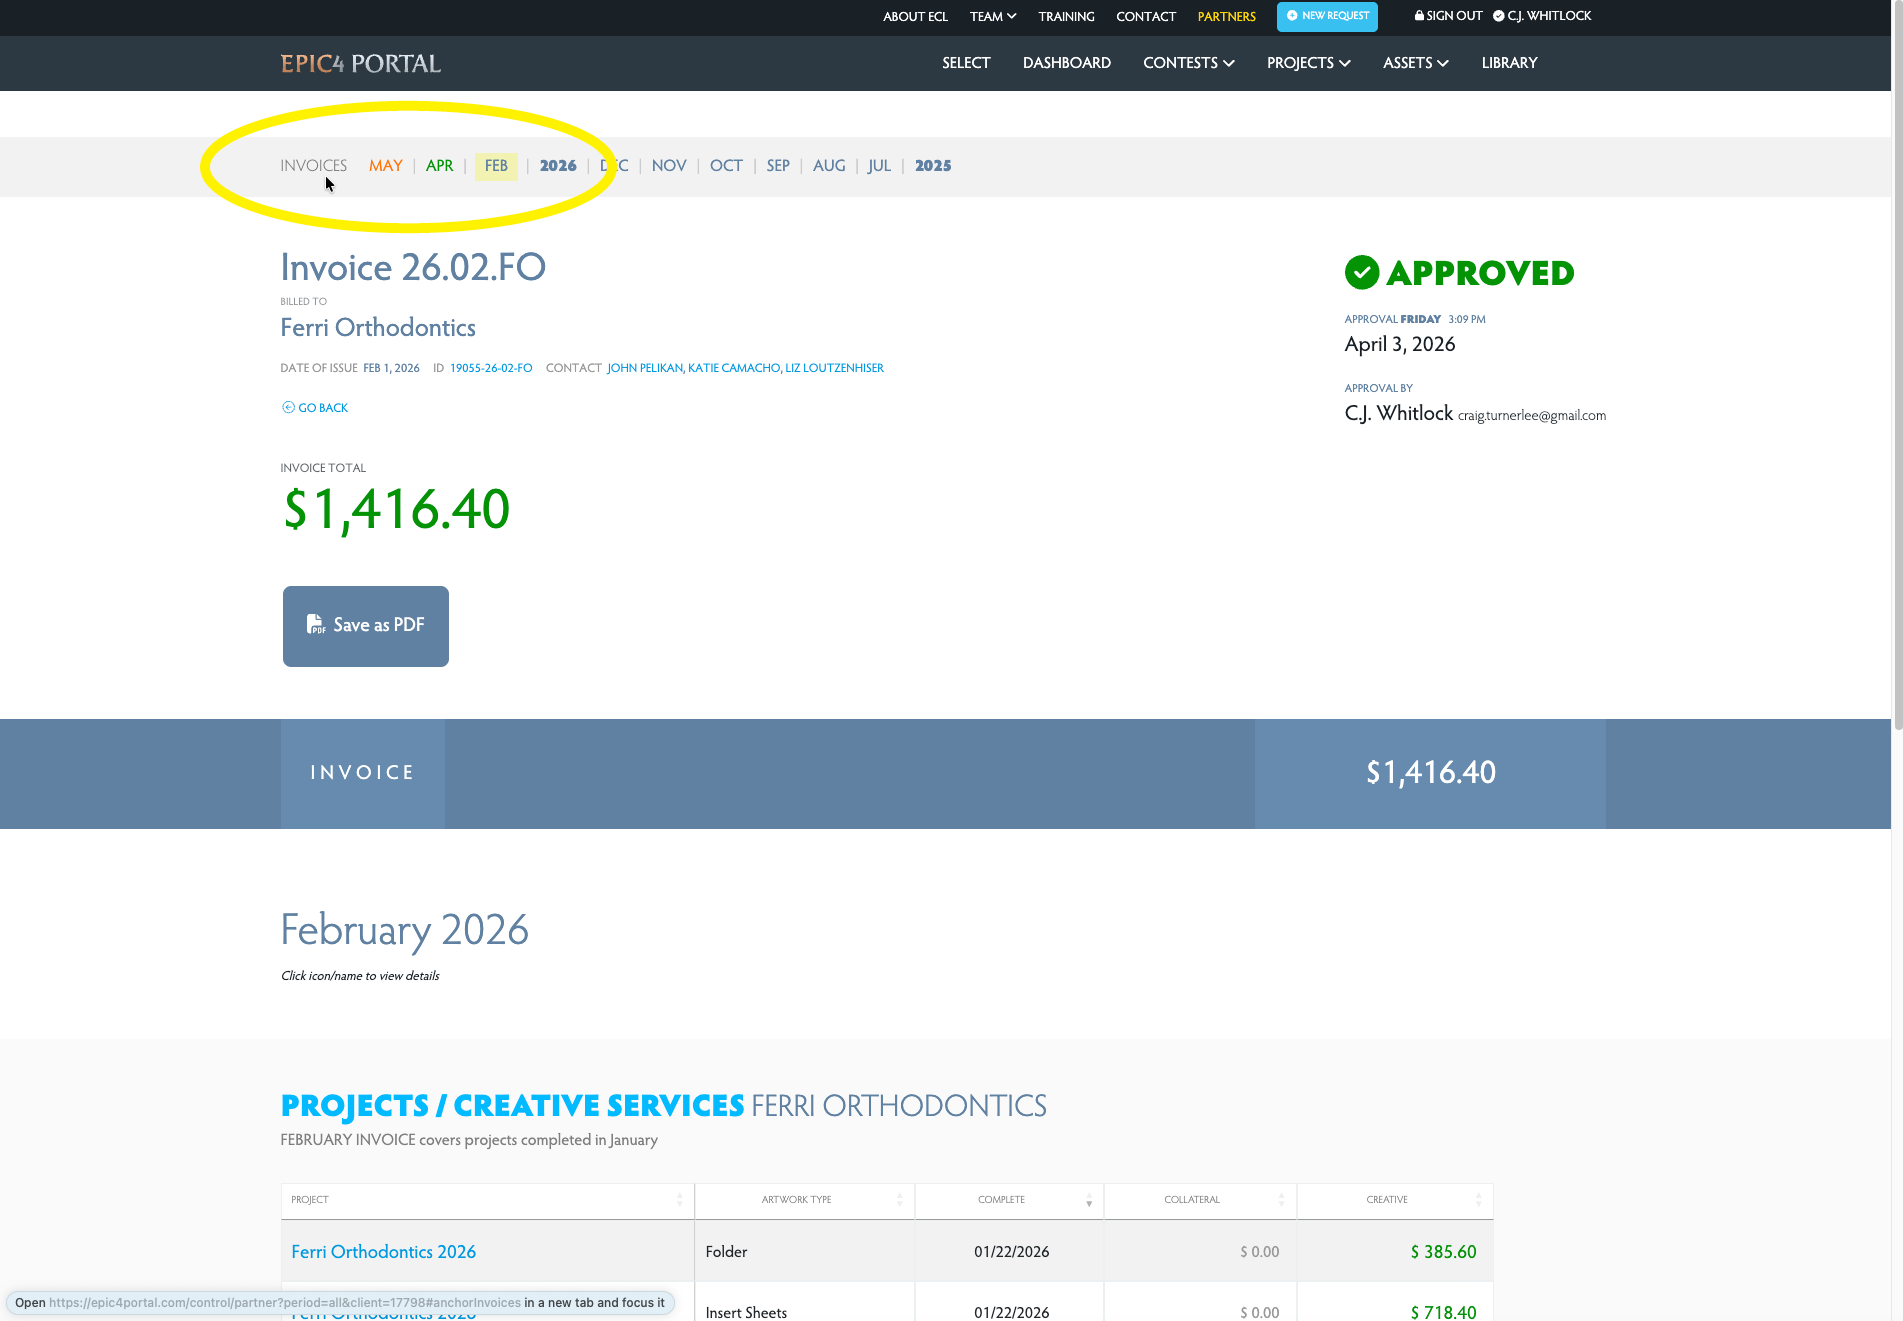
That's it! Your approval has been recorded and our team has been notified. You'll also receive a confirmation email. The invoice will be updated with the green Approved checkmark with your name and date of approval.
Click on another month in the Invoices navigation at the top to approve another one - Invoices marked ready for approval display in green. Click INVOICES (on left) to see your updated list of Invoices.
Thank you!
Please let us know if you have any questions.
Contact Katie Camacho